Posts filed under Do It Yourself

Say Cheese! Tips for Photographing Kids and Animals

kid friendly places in san diego

This post is written by local aunt & architect turned photographer, Natalia Robert, of Full Circle Images.

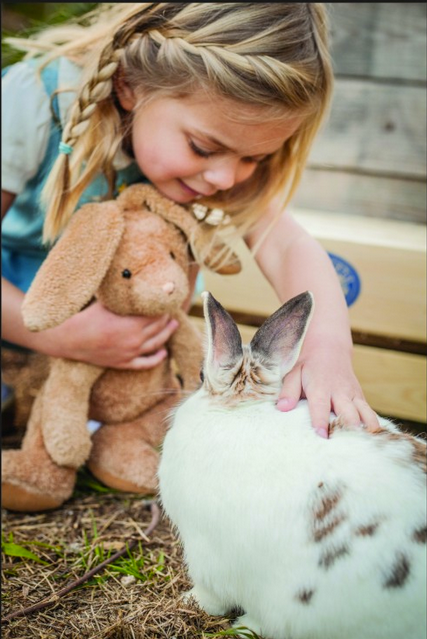
The Best Kinds of Photography - Kids and Animals

It may sound simple enough. You grab your camera, go in to the yard with the kids and the dog (or the chickens!) and start snapping away in hopes of getting the perfect photo that captures their energy.

What you end up with instead is blur, cut off heads, a barking dog, running hens, and lots of flailing hands covering the shot.

So just how do you get those wonderful shots that you'll always treasure?

While each location and personality needs a slightly different approach, there are definitely things I've learned as a professional photographer about how to work with kids and animals.

Keep these tips in mind and you'll be one step closer to capturing those magical moments at home!

1. Have props handy and come prepared with lots of setup ideas. You never know what kids or animals will find fascinating and fun that day. Bring lots of options for them to play with. Maybe your pet has a favorite toy or blanket? Or maybe your 5-yr-old daughter has a tiara that makes her feel like a princess? These props will bring a piece of home to them, and help bring out those personalities we know and love.

2. Don't be surprised when all those props and ideas go unused. You also never know when your pet's or child's mood will change, or when they'll be distracted and fascinated by something new. Don't try to force your pet or any kids to use the props you've brought. Letting them dictate what feels most comfortable will ensure they shine as themselves in the photos.

3. Expect the unexpected./Be flexible and patient. One minute your 3-yr-old son is all about giggling for the camera; two minutes later he wants to run and hide. Kids have their own agendas, and forcing something on them will only make it worse. Pets also have temperaments that we need to just go with because they have no problem running away and hiding!

Understanding that you'll need some flexibility and patience going into the shoot ensures that pets, kids, AND you are all happy and playful. Kids and pets both will be happier for the light mood and lack of pressure, and you'll get that perfect shot in no time!

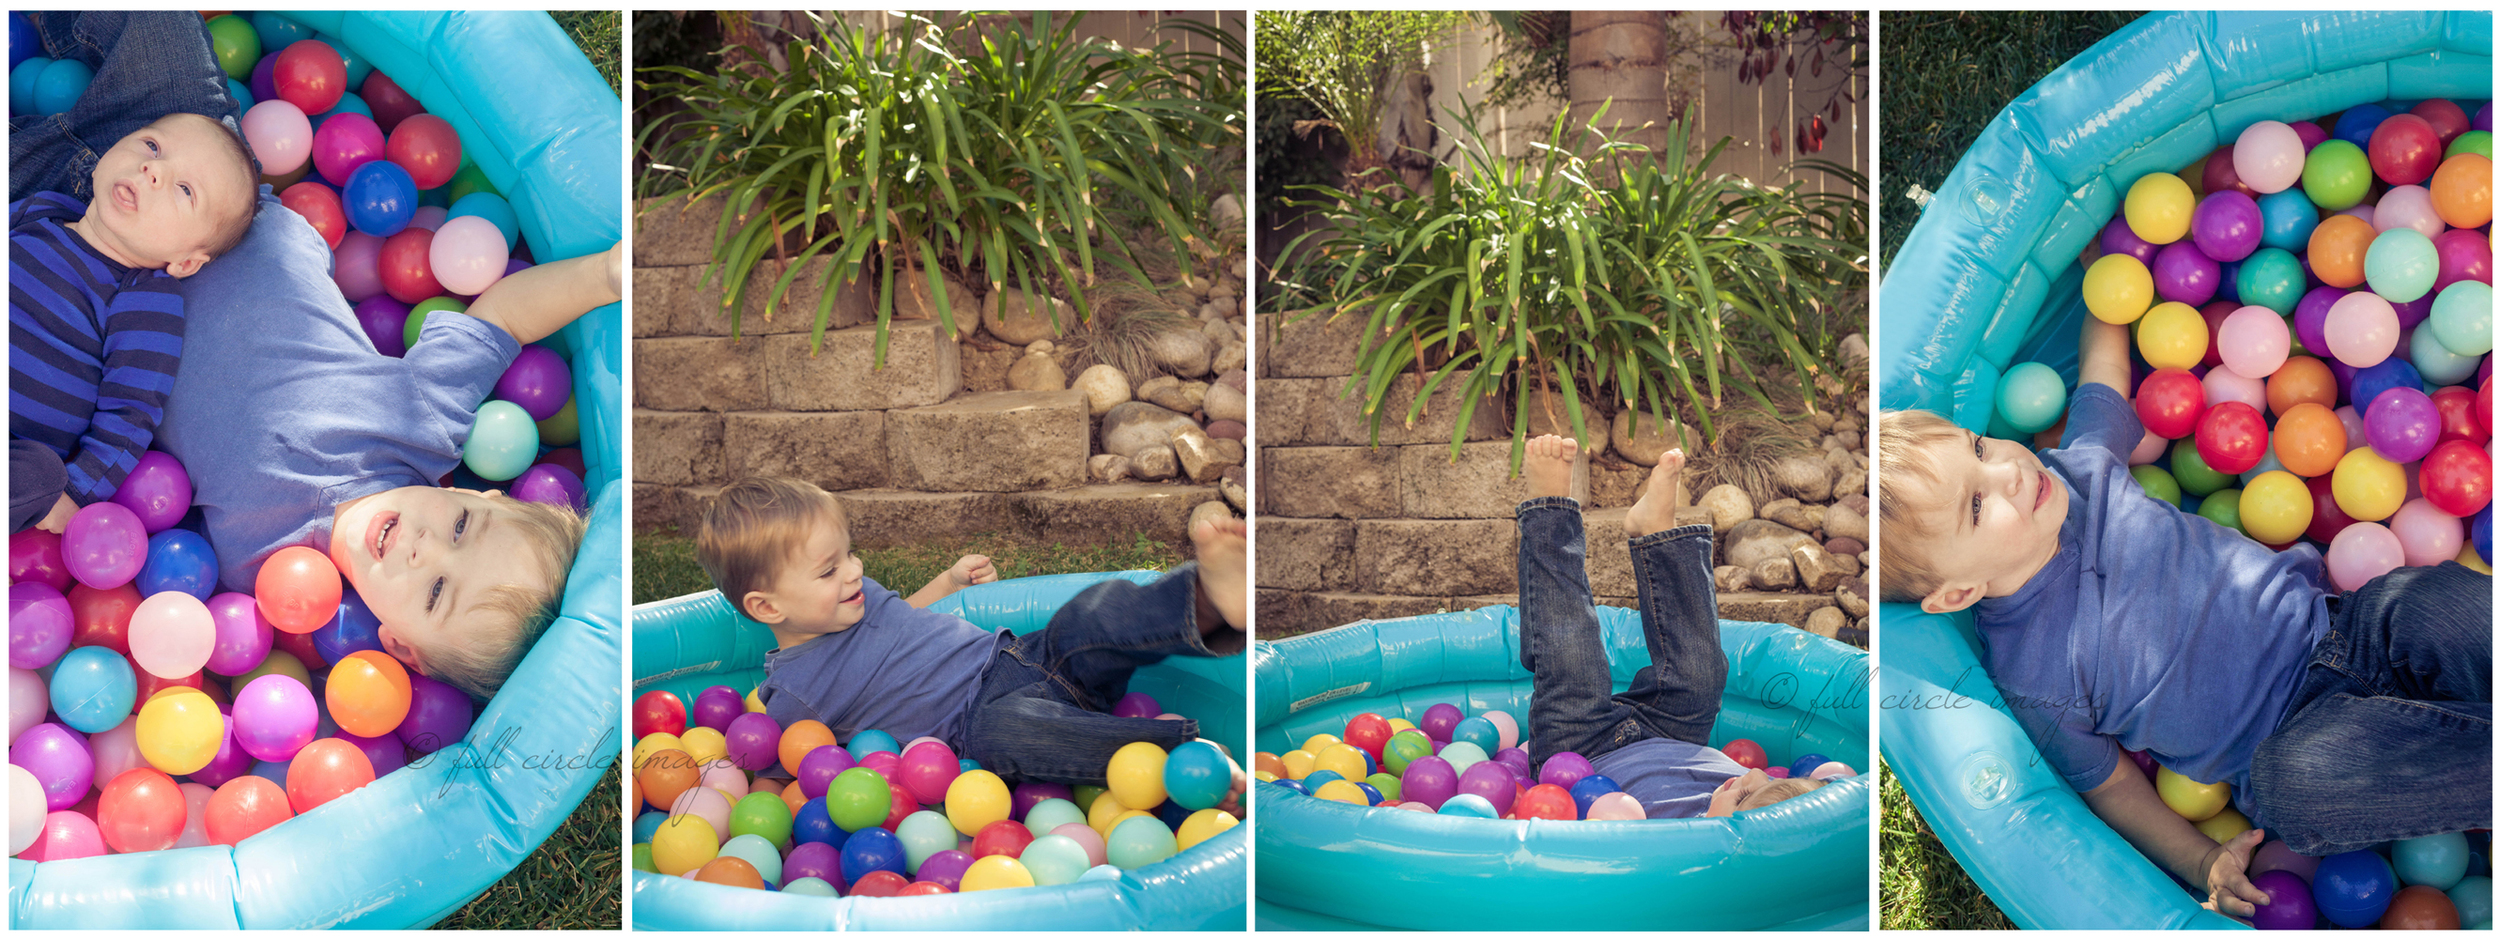
Green Family collage

4. Keep shooting. And shooting... and shooting... The digital age has brought digital cameras to the hands of the general consumer. One of the biggest advantages to shooting with digital is that you're not using up film, so keep shooting! If your camera allows for continuous shooting mode, use it. Keep shooting after they've stopped smiling for the camera, or just keep shooting while they get distracted with the dog. Those quiet moments are where the magic is.

5. Keep them distracted/playful. Nothing makes us freeze up faster than having a camera pointed at our faces. Kids also learn to pose for cameras and flash cheesy smiles when they know you're about to take a picture.

Keep the conversation going! Ask them to DO something (maybe with one of the props you brought?), and have them crack jokes and giggle. Anything you can do to let them forget about the camera will get you those honest moments that let their personality shine through!

6. Plan on getting dirty. Kids and pets both like to get dirty, so be prepared to sit or kneel on the ground. Get ready to do a little chasing around the yard. Let them climb, run, and roll around while you chase after them with your camera. Getting into their "world" and getting dirty right there with them will make the moments that much more special.

San Diego destination good for dogs and kids

7. Get up close. While you're getting dirty and running around, don't forget to get close! Nothing will create that personal connection in a photo faster than zooming in to the details. Fill the frame with their faces to ensure it's bursting with their individual personality.

8. Location is key. You could never expect relaxed and fun pictures from a location that is formal, clean and new. A familiar location works best for both kids and pets because they'll already be comfortable. Make sure to shoot somewhere that allows them the freedom to be playful and 'do their thing'. Whether this means they need lots of room to run around, a sandbox, or an ocean, you want both kids and pets to feel at ease while having fun.

9. Have help nearby. Kids are a handful. Pets are a handful. Having the two together and trying to get both in the same picture can be a real challenge! If you have a friend, family member, or general helper with you, you'll be able to focus more on giving both the kids and the pets a fun experience to ensure great shots.

Also, a second adult is great for keeping either kids or pets distracted and happy while you worry about working the camera.

10. Relax and have fun! If you're tense, stressed, or rushed, it will be felt. Kids are very sensitive to how we act around them, and pets naturally pick up on these forms of nonverbal communication. When you set out to get some photos, hope for the best but keep an open mind. If today's not a good day, then there's always tomorrow.

Plus, if you start having fun and playing along with the games, this will make both the kids and the pets have more fun and shine that much brighter in photos!

If it's been on your mind to capture some recent photos of your little ones, you can learn more about Natalia's springtime photo shoot at City Farmers on March 10th.

Print

Posted on March 1, 2013 and filed under Do It Yourself, events.

Locally Grown Food Equals a Delicious Dinner

This post is a guest post by CFN customer, mom and writer Leah over at Leah’s Thoughts.

One of the things I am most proud of in my life is making a commitment to eating locally –grown, organic produce and supporting community businesses. My family and I recently took this commitment to eating locally even closer to home — our own backyard!

My husband, Bryan, has always been interested in growing produce in our yard. Some crops have worked well (lemons, tomatoes, plums). Other crops probably needed more help (avocados). Last year, Bryan and our 4-year-old daughter, Sophie, planted a few tomato plants in our yard and they flourished. In fact, one of Sophie’s favorite activities was running into the backyard and picking red tomatoes to show Bryan. Then she leaves them on the kitchen table for me to cook.

I have also had luck in planting little herb pots for fresh basil, parsley, chives and thyme that I love using in my kitchen concoctions.

After noticing a very full bowl of backyard tomatoes and lots of basil that needed picking, I decided to put our locally-grown, organic produce to action by making one of my all-time favorite tasty and healthy dishes — Tomato Basil Pasta. This dish is SO easy and simple, yet beyond flavorful.

I don’t have an actual recipe or measurements for this dish since it depends on how much produce I have available. I’ll do my best to tell you how to make it. You really can’t mess it up, honestly!

Tomato Basil Pasta Recipe

Here’s what you need:

  • 1/4c - olive oil
  • 1-1/2 c - tomatoes, chopped (I always use fresh)
  • 6 - 8 medium leaves - basil, chopped
  • 1/2 tsp - garlic
  • 1/2 tsp - salt
  • 1/2 tsp - pepper
  • Parmesan cheese - to taste (vegans and those will allergies can omit)
  • 1, 16oz box of pasta. (I use penne, or whatever is in the pantry. Gluten free pastas will work, too.  Just follow cooking instructions on the box!)

Heat the olive oil in a pan (maybe 1/4 cup), and add chopped tomatoes. Let them cook over a medium-low heat until it comes saucy, yet still chunky with your freshly picked tomatoes. Then add ½ tsp. garlic, salt and pepper. ALWAYS add salt and pepper when you cook, not after. It bring out the flavor more.

While all this is going on, cook the pasta (about 1 pound) to al dente. Once the sauce becomes a thick and yummy consistency, add the chopped basil and the cooked pasta. Then add Parmesan cheese. Let the pasta sit for a few minutes so all the flavors absorb together. Taste it for seasoning and, voila, you’re done!

This dish is so simple, so delicious, and so healthy. And when you make it with produce you’ve grown with your own two hands, it is SO fresh and satisfying! Trust me – you will want to grow your own tomatoes and herbs for this one. You will love it!

Leah Singer is a San Diego-based freelance writer. She blogs at Leah’s Thoughts about topics such as family, motherhood, traditions, cooking, writing, photography, and literature. She’s also an avid tweeter (@leahs_thoughts) and a self-proclaimed Facebook junkie.

Posted on April 19, 2012 and filed under Do It Yourself.

Fermentation Recipes: Sauerkraut and Kimchi

If you missed our recent fermentation class, below are the recipes, provided by Fermenters Club founder Austin Durant.

Slow Sauerkraut Recipe

Total Prep Time: 20 minutes Fermentation Time: 7 days to 6 months

1) Shred & Salt Cabbage

2 large heads (5 lbs.) organic cabbage (green or purple) 3 Tablespoons sea salt 2 teaspoons caraway seeds 1 teaspoon juniper berries

1 cup other fruit or veggies-- fennel bulb, celery, apple, e.g. (Optional) Working in four batches (1/2 head at a time):

Shred cabbage & other veggies to a uniform size using a chef’s knife, mandolin, or V-slicer. Add cabbage and 1⁄4 of the other ingredients to a 1-gallon or larger fermenting vessel (glass, ceramic crock, or food-grade plastic container).

Mix ingredients together thoroughly with clean hands.

2) Pack into Vessel

Pack contents down with your hands. Add a plate or plastic lid that fits inside vessel & covers the top layer of cabbage. Add a heavy object such as a glass bottle filled with water, or a zip-top bag with salt-water to weigh cabbage down. Cover the container with a dish towel or other cloth (not cheesecloth) to keep out flies and dust. Brine will form as salt draws water from the cabbage (may take a day).

Ferment

Stash it in a cool, dark place– a cellar, under the stairs, or the coolest place in the kitchen. Check on it every few days (in warmer weather) to weekly (in cooler weather). Some mold may form on the surface. Remove weight and lid; wash them with warm soapy water. Then skim off the surface mold, getting as much as you can. Don’t worry if you don’t get it all. The contents are safe under the brine.

Ensure that contents are always under brine. If there is not enough brine to cover the contents, dissolve 1 Tbsp salt per 1 Cup of filtered water (mix as much as you need to cover the contents). Pour on top of contents. Leave for as little as 7 days or as long as 6 months.

When it tastes the way you like it, do a final mold cleaning and transfer to smaller (quart- or pint-sized) jars. Store in refrigerator for up to 2 months.

© Fermenters Club 2012.

Kimchi

Soak Vegetables

Add to 1 gallon glass jar or ceramic crock: o 1 1⁄2 medium heads (2-3 lbs). cabbage (green, Napa, or bok choy), cut into 1”

chunks o 2 carrots, thinly sliced o 1 medium daikon radish, thinly sliced o 1 scallion

Dissolve salt into water. Pour brine over contents. o 3 pints filtered water o 4-5 tablespoons sea salt

Weigh veggies under brine with heavy glass bottle or plate with weight for 4 to 6 hours.

Make paste

Add to food processor: o 4 Tbsp. red pepper powder o 1 Tbsp. fish sauce o 1 Tbsp. soy sauce o 6-8 garlic cloves, roughly chopped o 3 scallions, sliced o 1 Tbsp. (about 3”) ground ginger

Pulse in food processor until paste forms.

Pack Jar or Crock

Drain vegetables, reserving 1 cup of soaking liquid. Wearing glove, mix paste thoroughly into vegetables with your hands. Pack into jar or crock. Even out top surface. Weigh down with plate or lid & weight. Contents should be under brine within 1 day. If not, top off with reserved brine.

Ferment

Cover with towel to keep dust/flies out. Let sit in warm dark spot for 7 days. Note: Your kitchen will smell like kimchi. Transfer to smaller (quart- or pint-sized) jars. Store in refrigerator for up to 2 months.

Posted on February 29, 2012 and filed under Do It Yourself, Free download.